为什么要坚持写博客?
- 能让人具备更好的总结能力
- 加深自己对某项技术的理解
- 提高自己的表达能力
- 为自己的生活留下足迹
- 证明自己的能力
- 获得别人的认可
本篇将介绍以下内容
- Hexo 安装
- Next 主题配置
Hexo 安装
1 | $ npm install -g hexo-cli |
创建博客
1 | $ hexo init myblog |
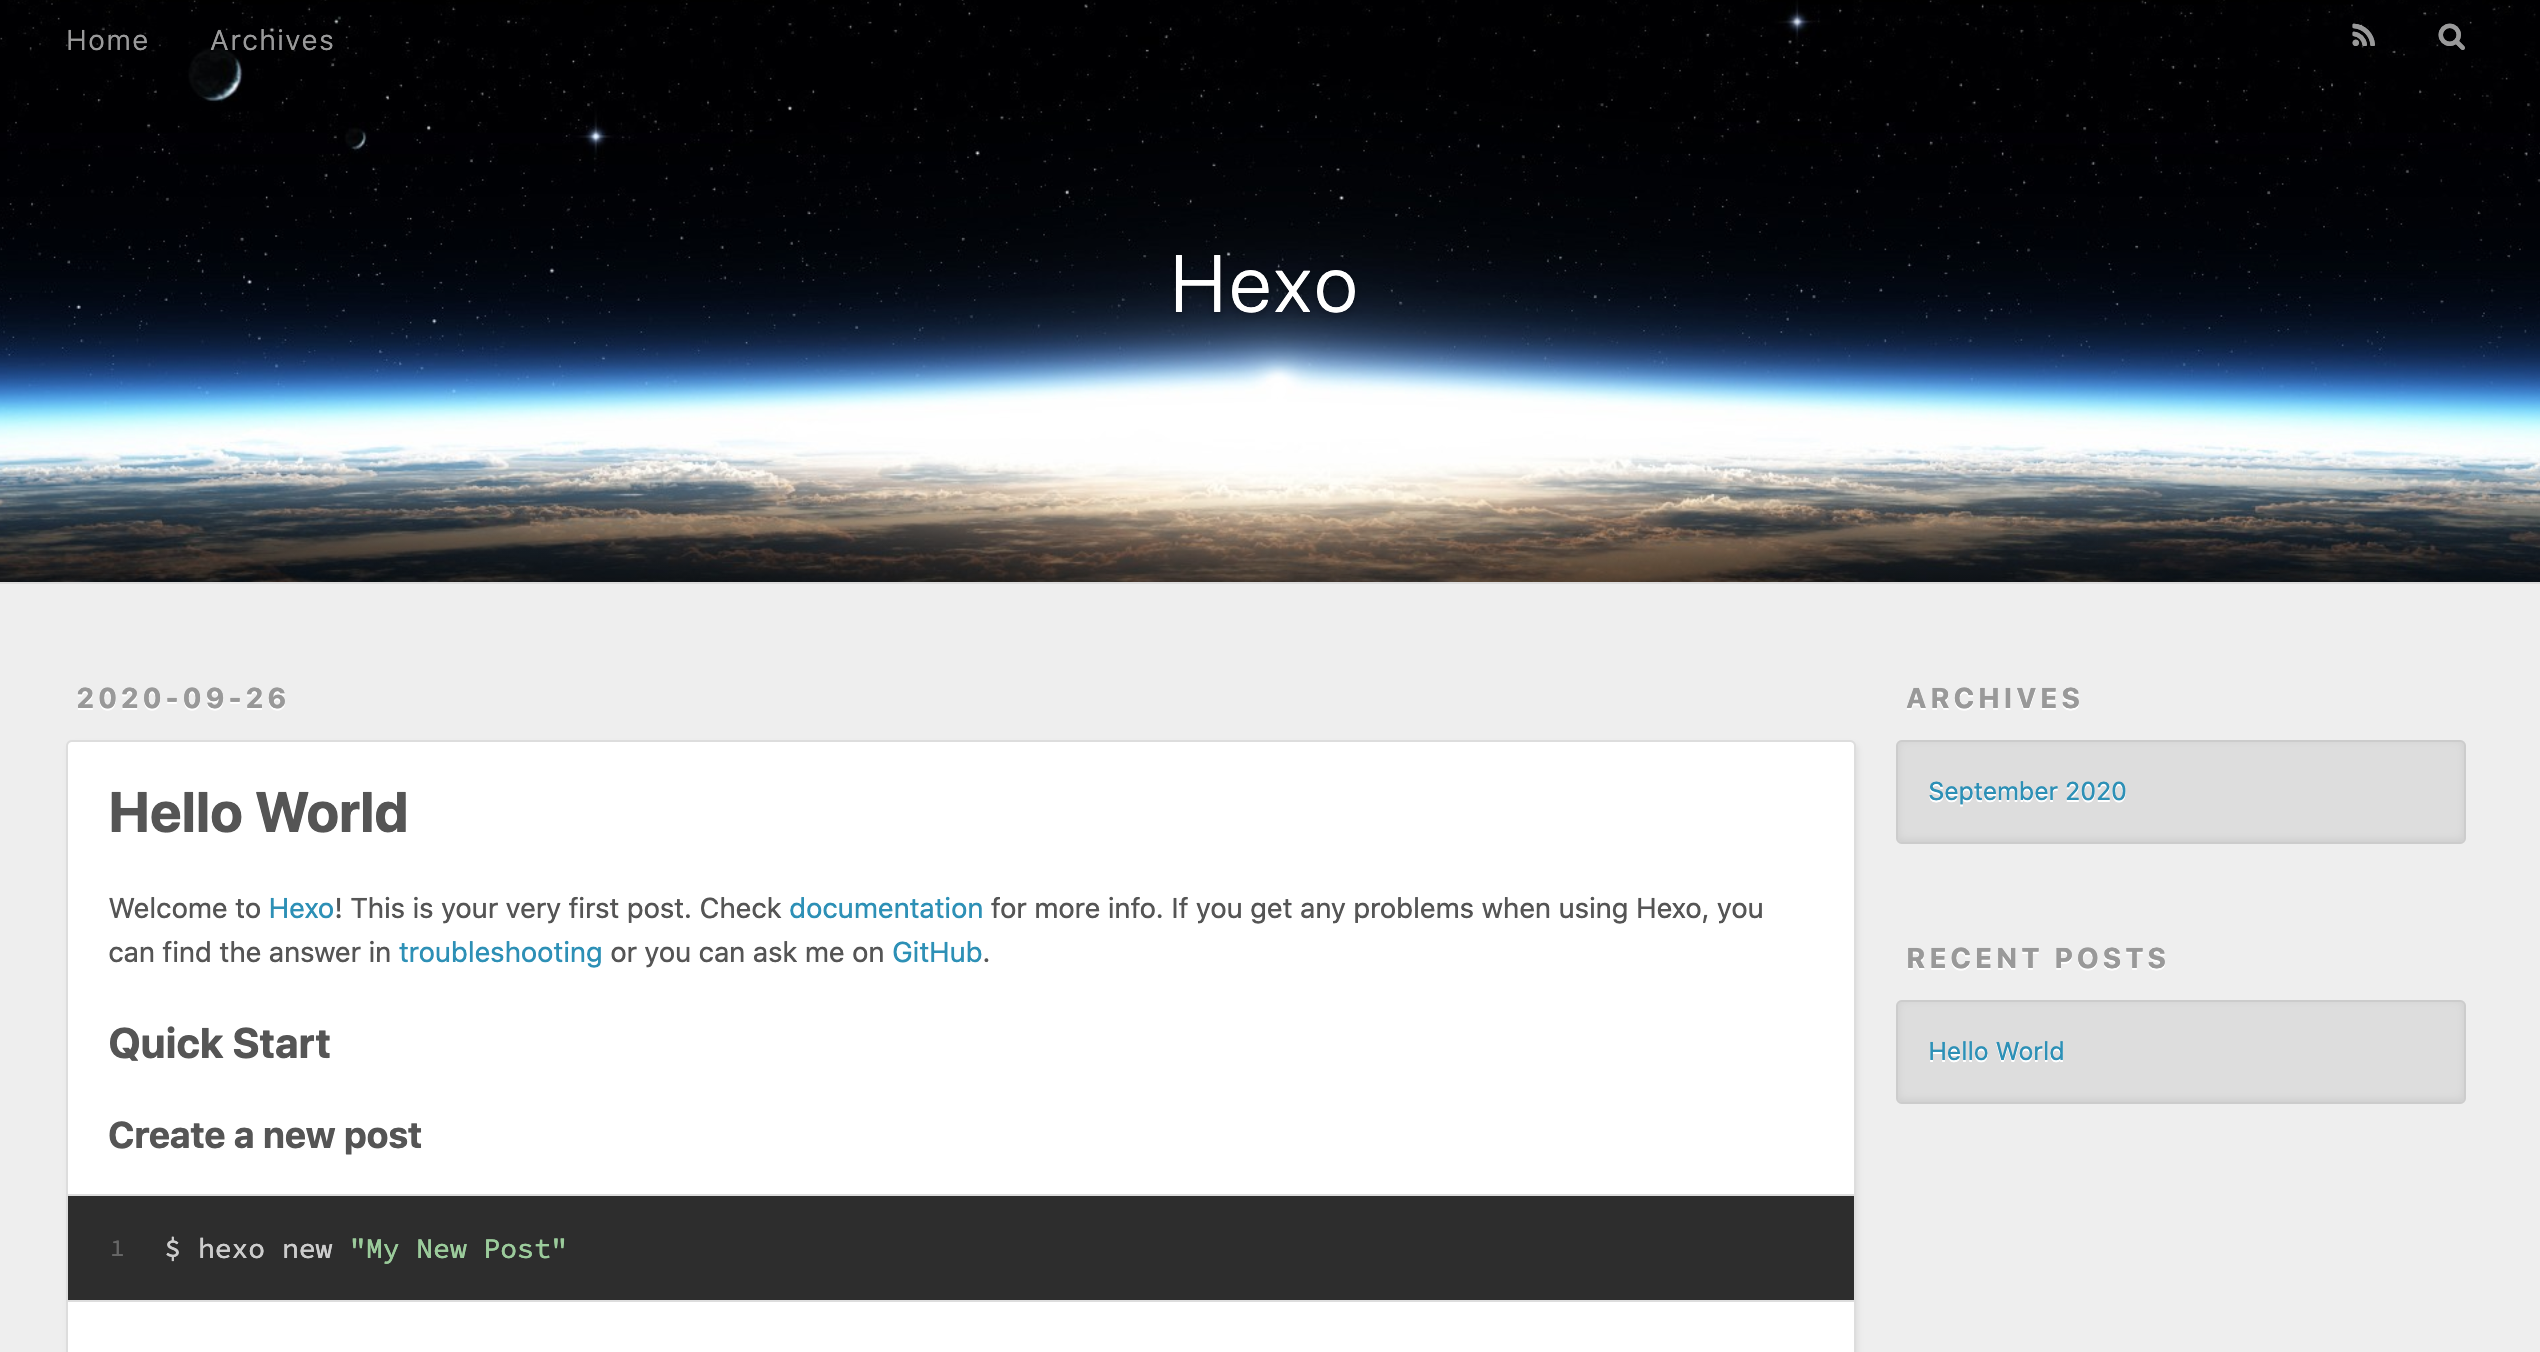
此时,浏览器打开 http://localhost:4000/ 地址,即可访问默认 landscape 主题的博客。
注意:键入
Ctrl + c可结束当前hexo server进程。即:结束监听本地 4000 端口。
效果如下图所示:

主题配置

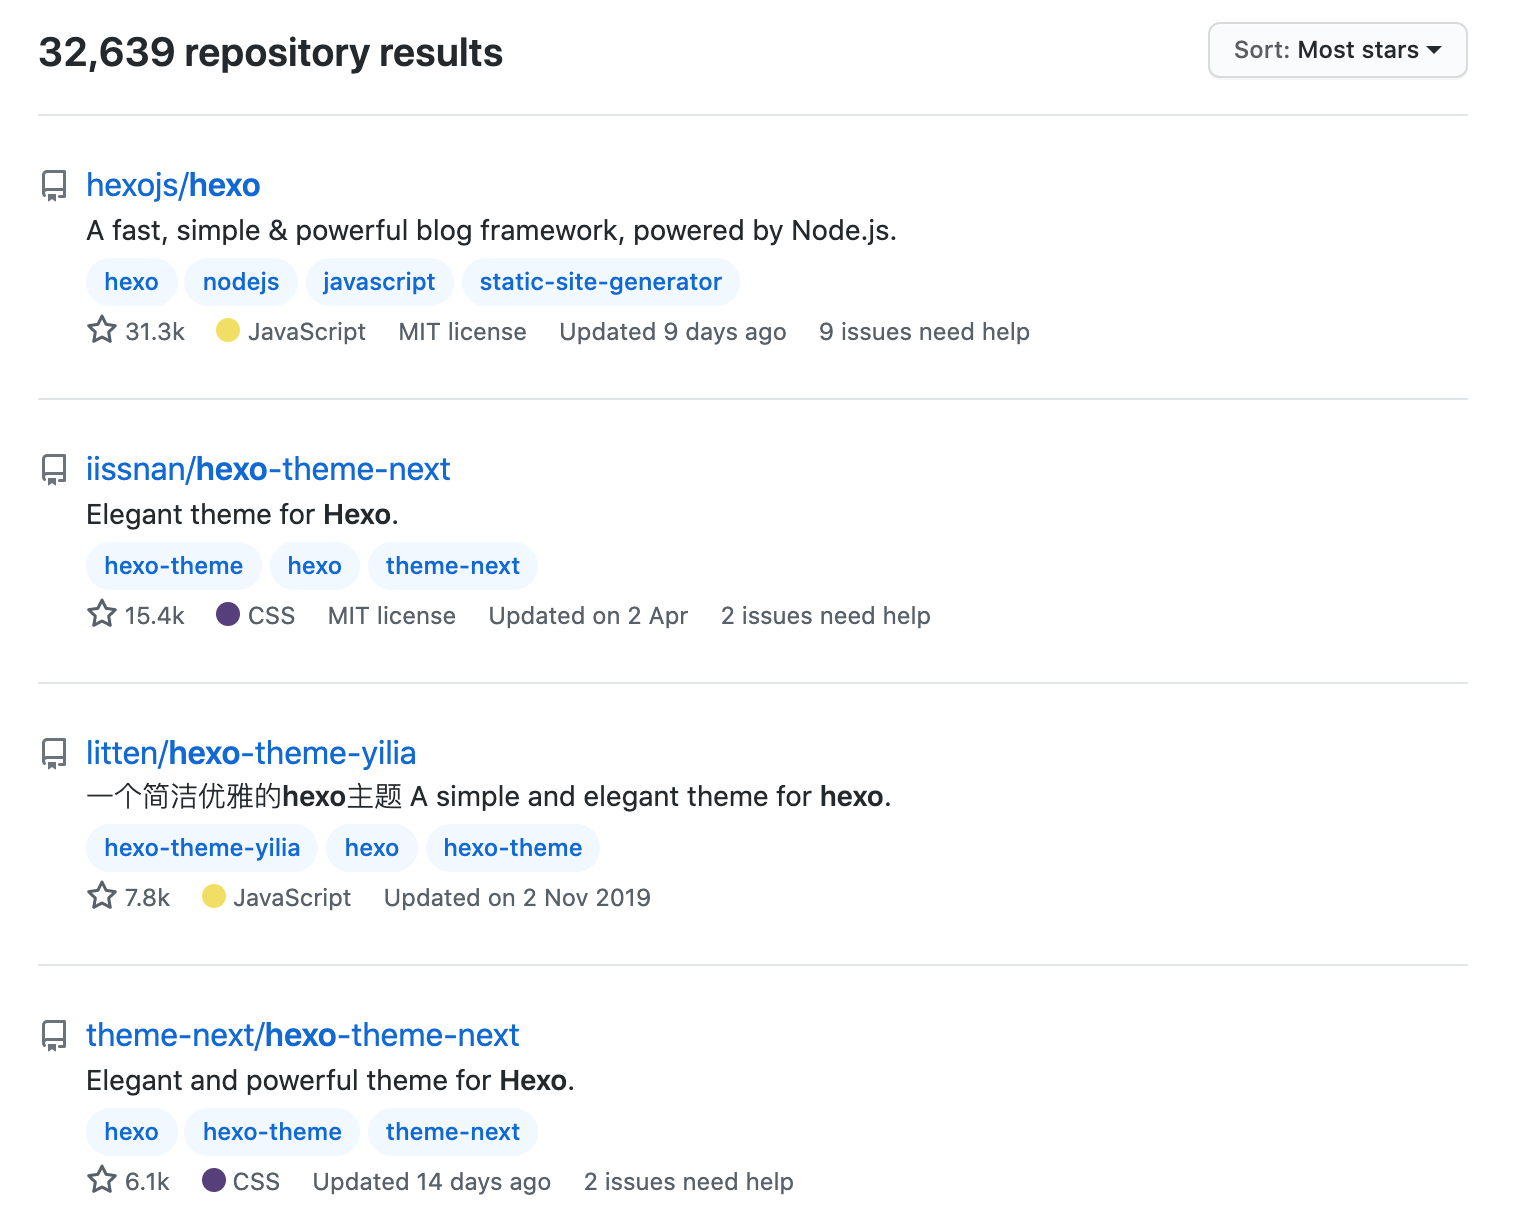
通过 github 检索,根据最高 stars 数排名,下面将介绍以下两款主题配置方法:
Tips:仓库
iissnan/hexo-theme-next已迁移至theme-next/hexo-theme-next。
next 主题
1 | $ git clone https://github.com/theme-next/hexo-theme-next themes/next |
yilia 主题
1 | $ git clone https://github.com/litten/hexo-theme-yilia themes/yilia |
主题成功克隆到本地后,可通过编辑 _config.yml 文件,更改以下行设置主题:
1 | #theme: landscape |
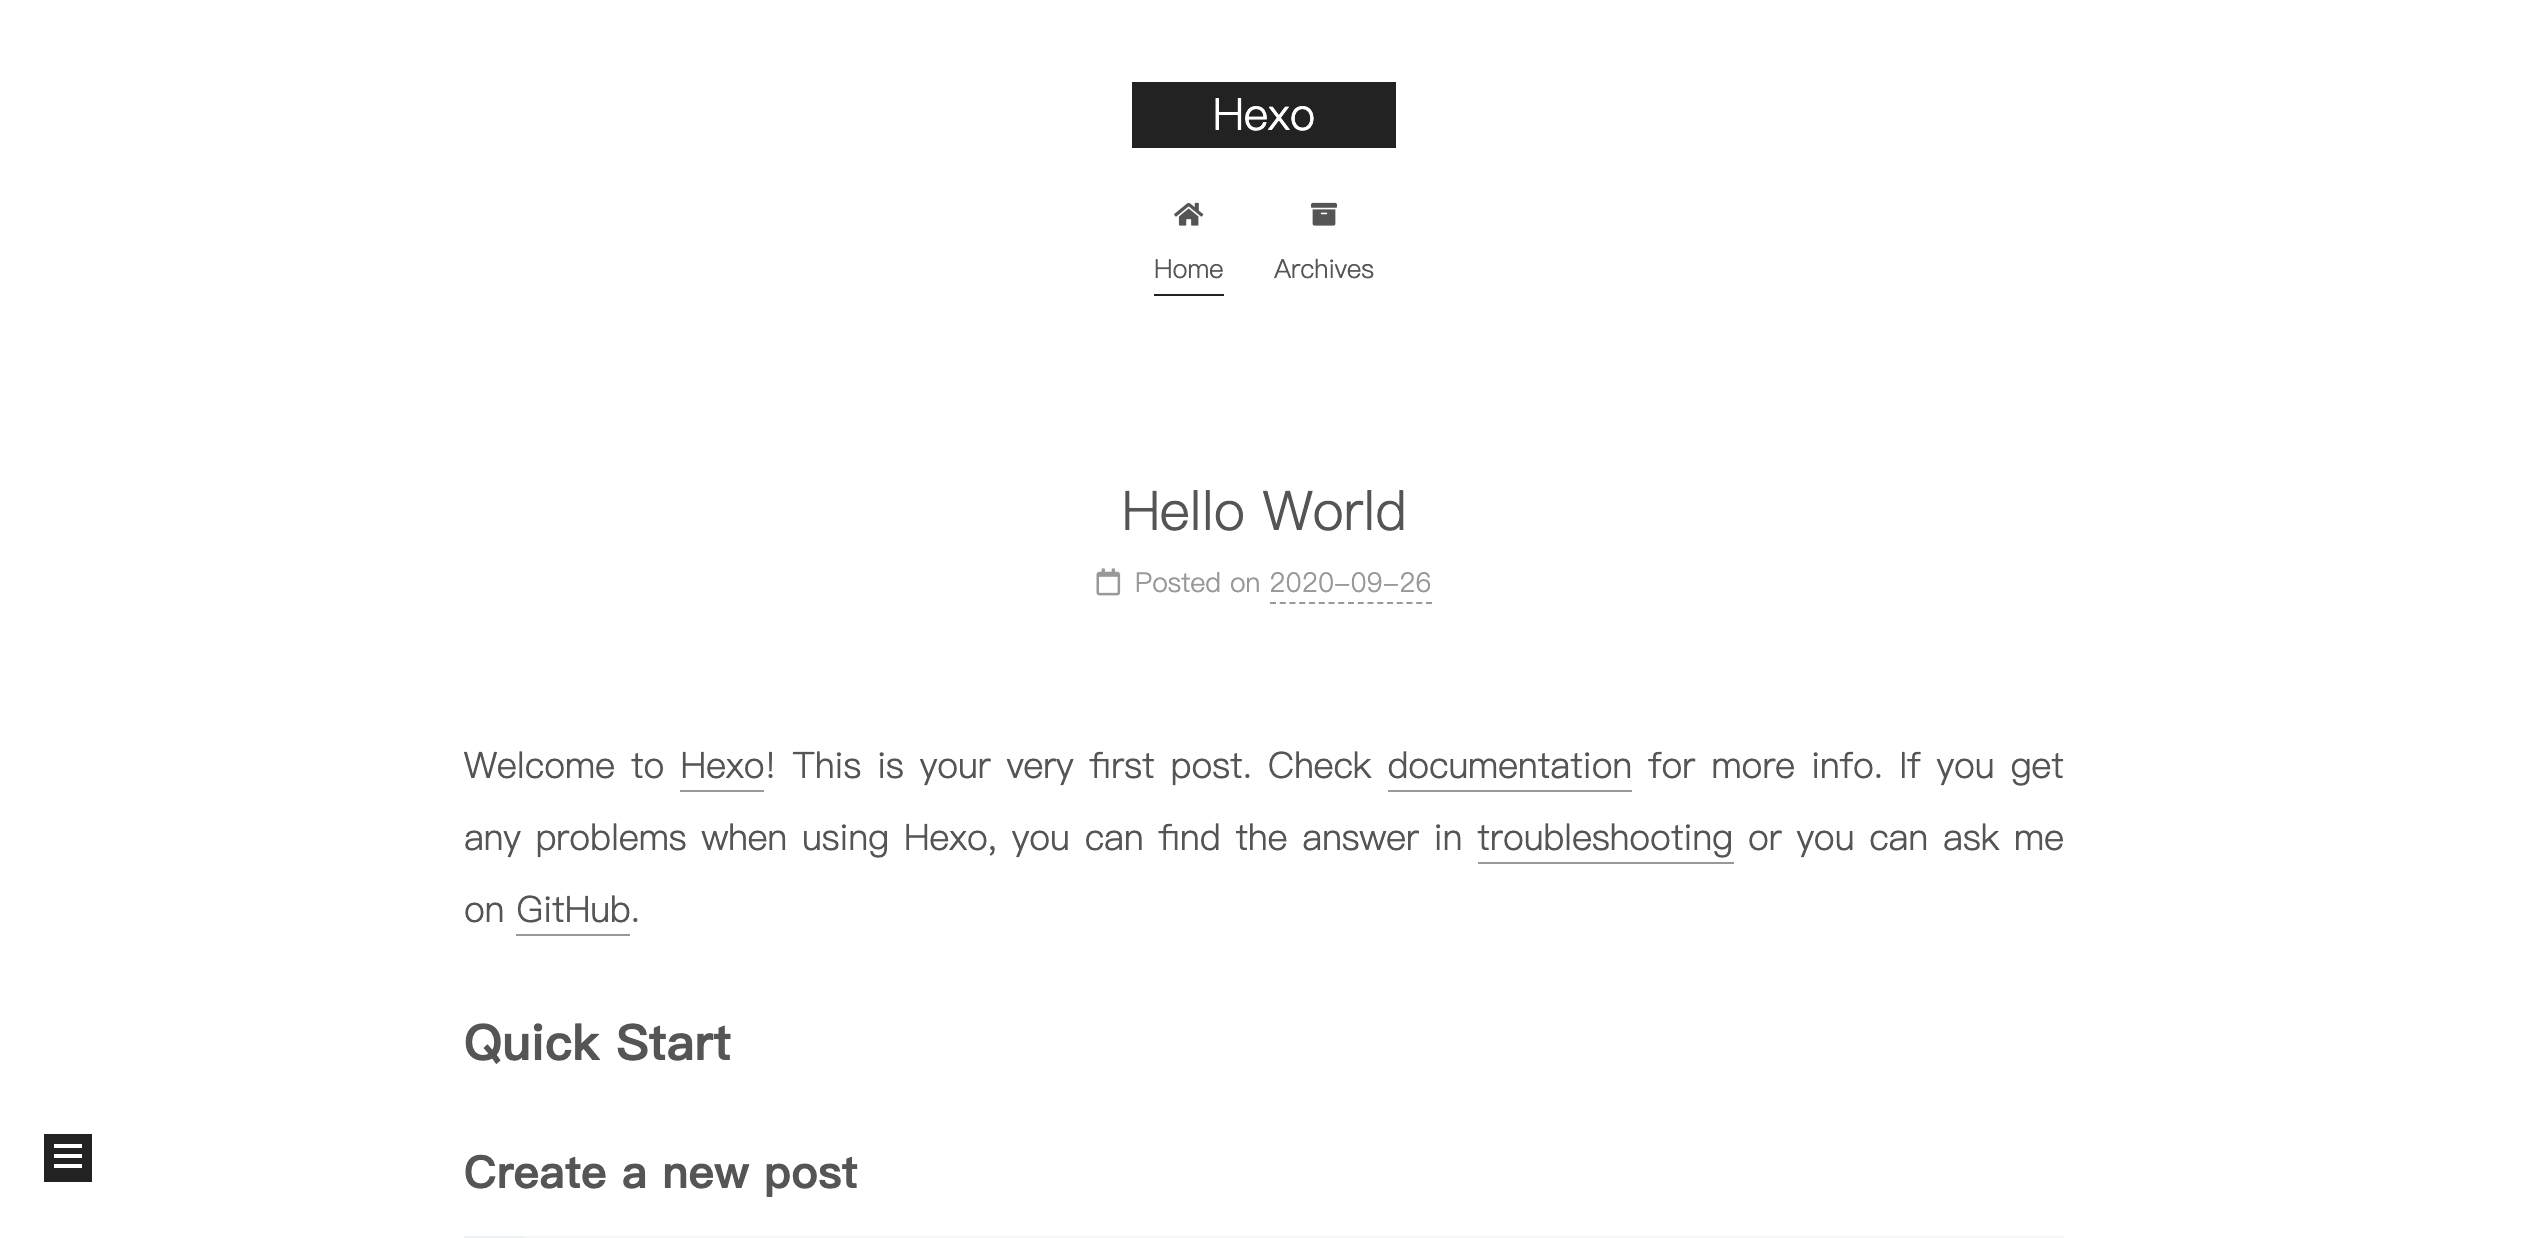
再次使用 hexo server 命令启动本地服务,next 主题效果如下:

若主题有更新,可通过进入对应主题 themes/next 「 这里以 next 主题为例 」目录,执行 git pull 命令,完成本地主题更新操作。

